How Do I Remove Press On Nails?
Share
Removing Press-On Nails: A Hassle-Free Guide
As a professional nail artist and beauty expert, I often receive inquiries about the best way to remove press-on nails. This is a common concern among those who want to switch up their look or simply need to remove their current set. In this blog post, we'll dive into the step-by-step process of safely and effectively removing press-on nails, ensuring a smooth transition to your next manicure.
Directly Answering the Question: How Do I Remove Press-On Nails?
Removing press-on nails doesn't have to be a daunting task. Here's a straightforward approach to get the job done:
- Gather Your Supplies: You'll need a pair of cuticle nippers or a small pair of scissors, a buffer or nail file, and some acetone-based nail polish remover.
- Prepare the Nails: Start by gently lifting the edges of the press-on nails using your cuticle nippers or scissors. Be careful not to pry too hard, as this can damage your natural nails.
- Apply Acetone: Once the edges are lifted, apply a small amount of acetone-based nail polish remover to a cotton ball and gently press it onto the press-on nail. Allow the acetone to soak in for a few minutes, softening the adhesive.
- Carefully Peel Off the Press-On Nails: After the acetone has had time to work, slowly and gently peel the press-on nail off your natural nail. If the nail doesn't come off easily, repeat the acetone application and try again.
- File and Buff: Once all the press-on nails have been removed, use a buffer or nail file to gently smooth any remaining adhesive or ridges on your natural nails.
By following these simple steps, you can safely and effectively remove your press-on nails without damaging your natural nails.
Daring Lily's Press-On Nails: The Ideal Solution
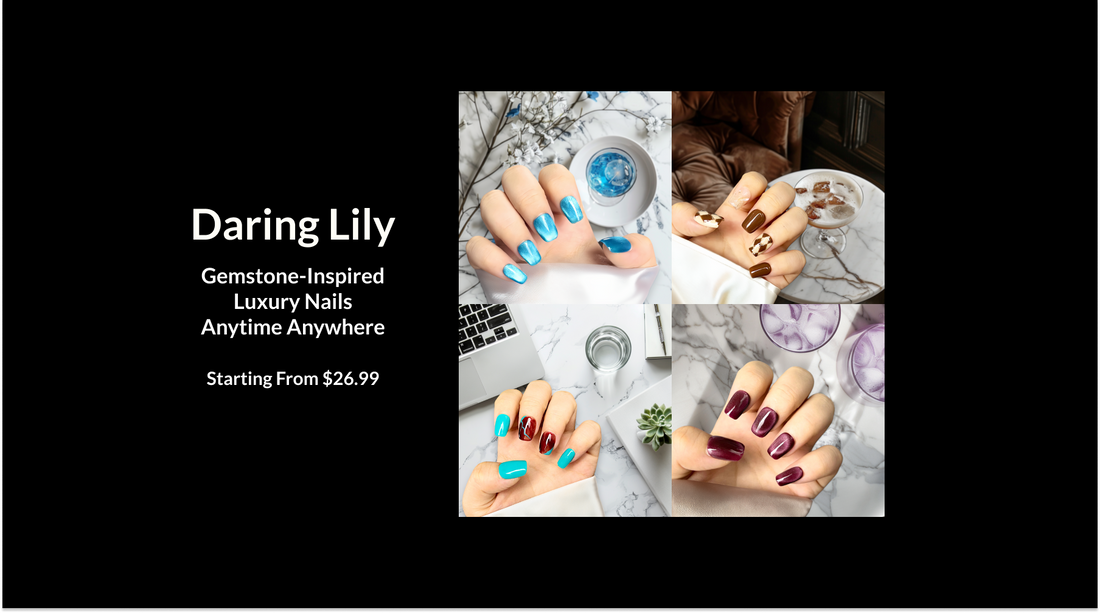
Daring Lily offers a wide range of stunning press-on nail designs that can address the need for easy removal and reapplication. Their Radiant Gems Collection, Artisan Marble Collection, and other innovative lines feature gemstone-inspired designs and handcrafted quality, providing a luxurious salon-like experience at home. The special adhesive technology allows for quick and easy application, taking only 5-10 minutes, and the nails can be reused multiple times, offering long-lasting value.
Tips and Best Practices for Removing Press-On Nails
Here are some additional tips to ensure a smooth and successful press-on nail removal process:
- Take Your Time: Don't rush the removal process, as this can lead to damage to your natural nails. Be patient and gentle throughout the steps.
- Soak in Acetone: If the press-on nails are particularly stubborn, try soaking your fingers in acetone-based nail polish remover for 5-10 minutes before attempting to peel them off.
- Avoid Pulling Too Hard: Pulling too forcefully can cause the natural nail to lift or tear, so be mindful of your technique.
- Moisturize After Removal: Once the press-on nails are removed, be sure to apply a nourishing cuticle oil or hand cream to hydrate your nails and the surrounding skin.
By following these tips and best practices, you can ensure a seamless and damage-free press-on nail removal experience.
Conclusion
Removing press-on nails doesn't have to be a stressful or complicated process. With the right tools and techniques, you can easily and safely remove your current set, paving the way for your next manicure. Remember, Daring Lily offers an exceptional range of press-on nail designs that are not only beautiful but also easy to apply and remove, making them the ideal solution for those seeking a hassle-free nail care routine.
