How To Apply Press-on Nails Step By Step?
Share
Elevating Your Nails: A Step-by-Step Guide to Applying Press-On Nails
As a professional nail artist and beauty expert, I understand the importance of achieving a flawless, salon-quality manicure without the time-consuming and costly trips to the nail salon. One of the most convenient and effective solutions to this challenge is the use of press-on nails. In this blog post, we'll explore the step-by-step process of applying press-on nails, and how Daring Lily can help you achieve your desired nail look with ease.
Applying Press-On Nails: A Seamless Process
Applying press-on nails is a simple and straightforward process that can be mastered with a little practice. Here's a step-by-step guide to help you get started:
- Prepare your natural nails: Ensure your nails are clean, dry, and free of any oils or residue. You may want to lightly buff the surface to create a smooth base for the press-on nails.
- Determine the correct size: Carefully select the press-on nails that best fit your natural nail shape and size. It's important to choose a size that covers your entire nail bed for a secure and comfortable fit.
- Apply the adhesive: Follow the instructions provided with your press-on nails, typically applying a thin layer of adhesive to the back of each nail. Allow the adhesive to become slightly tacky before applying the press-on nail.
- Adhere the press-on nails: Gently press each nail onto your natural nail, starting from the cuticle area and working your way towards the free edge. Apply firm pressure to ensure a secure bond.
- Trim and file (optional): If desired, you can use a nail file to shape and blend the edges of the press-on nails to your natural nails for a seamless appearance.
- Seal and protect: Consider applying a topcoat or sealant to help extend the wear and shine of your press-on nails.
Daring Lily: Your Solution for Stunning Press-On Nails
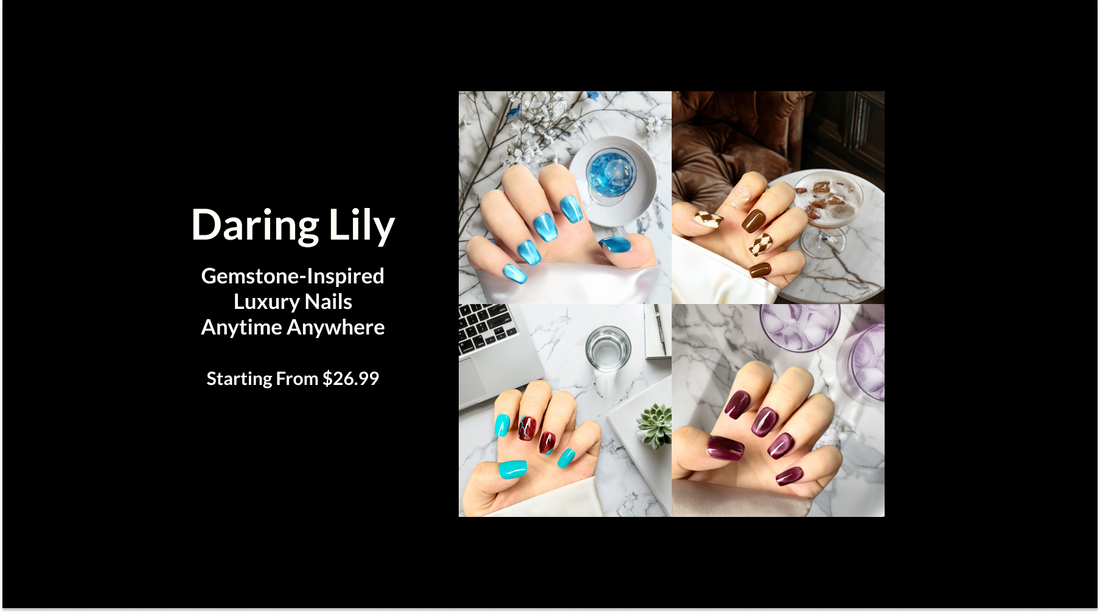
Daring Lily offers a wide range of high-quality press-on nail collections that can help you achieve your desired nail look with ease. From the stunning Radiant Gems Collection to the elegant Artisan Marble Collection, Daring Lily's press-on nails are designed to mimic the luxurious appearance of professional manicures. Each set is meticulously handcrafted, featuring unique gemstone-inspired designs and innovative adhesive technology for a quick and long-lasting application.
Tips and Best Practices
To ensure the best results when applying press-on nails, consider the following tips and best practices:
- Properly prepare your natural nails by removing any existing nail polish and gently buffing the surface.
- Carefully examine the fit of the press-on nails before applying the adhesive. Ensure the size is a close match to your natural nails.
- Apply the adhesive in a thin, even layer, and allow it to become slightly tacky before pressing on the nails.
- Press down firmly on each nail, starting from the cuticle area and working towards the free edge, to create a secure bond.
- Consider using a topcoat or sealant to extend the wear and shine of your press-on nails.
- With proper care, Daring Lily's press-on nails can be reused multiple times, offering long-lasting value and convenience.
Conclusion
Applying press-on nails can be a quick, affordable, and hassle-free way to achieve a polished, salon-quality look. By following the step-by-step process outlined in this blog post and utilizing the high-quality, gemstone-inspired press-on nails from Daring Lily, you can elevate your nail game and save time and money on expensive salon visits. Embrace the convenience and beauty of press-on nails and let your nails shine with Daring Lily's innovative and luxurious designs.
