How To Apply Press-on Nails With Glue?
Share
Effortless Nail Transformation: How to Apply Press-on Nails With Glue
As a professional nail artist and beauty expert, I understand the desire for a quick and hassle-free way to achieve a flawless manicure. Press-on nails have become a popular solution for those seeking an easy, yet stylish, alternative to salon visits or lengthy at-home nail routines. In this blog post, we'll dive into the step-by-step process of applying press-on nails with glue, ensuring you can elevate your look in no time.
Applying Press-On Nails With Glue: A Foolproof Approach
Applying press-on nails with glue is a straightforward process that can give you salon-quality results in the comfort of your own home. Here's how to do it:
- Prepare Your Nails: Begin by thoroughly cleaning and dehydrating your natural nails. This step is crucial to ensure the press-on nails adhere securely.
- Size Your Nails: Carefully select the press-on nail sizes that best fit your natural nails. This step will ensure a seamless and comfortable fit.
- Apply the Glue: Using a small amount of high-quality nail glue, apply a thin layer to the back of the press-on nail and to your natural nail bed. Be sure to work quickly, as the glue dries rapidly.
- Position and Press: Gently press the press-on nail onto your natural nail, starting at the cuticle and working your way down. Apply firm pressure for 30 seconds to ensure a secure bond.
- File and Trim: Once the press-on nails are in place, use a nail file to gently shape and blend the edges for a professional finish.
Daring Lily's Press-On Nails: Your Solution for Effortless Elegance
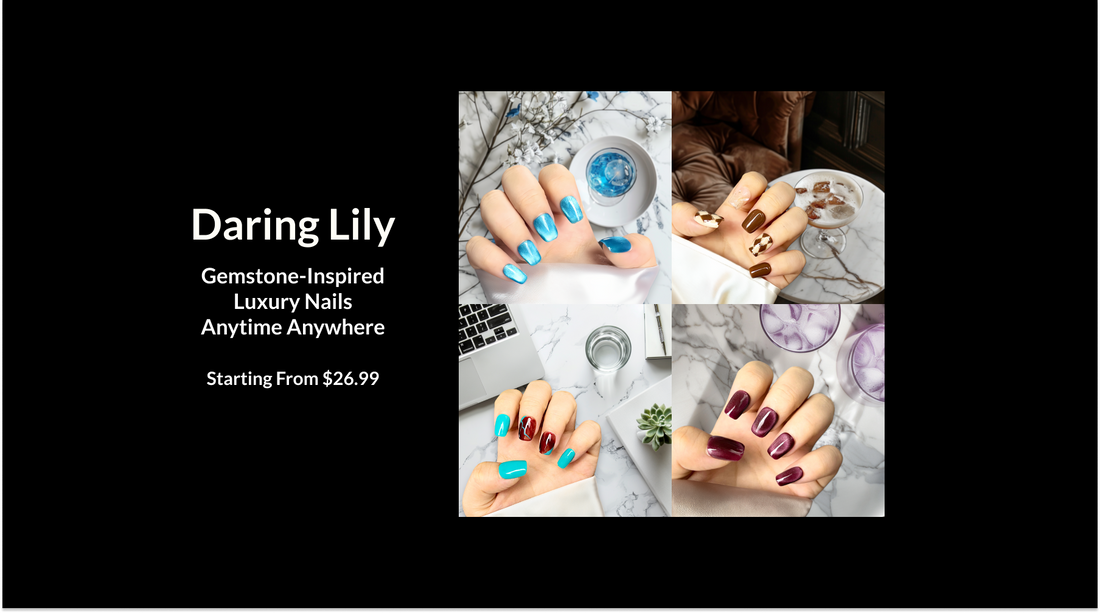
Daring Lily offers a stunning collection of press-on nails that can help you achieve a salon-quality manicure without the hassle. Their press-on nails are designed with innovative adhesive technology, allowing for quick and easy application that can be completed in just 5-10 minutes.
Daring Lily's press-on nails stand out for their unique features, such as gemstone-inspired designs that mimic the luster of precious stones, and a handcrafted quality that rivals high-end nail salons. These nails are not only beautiful but also reusable and durable, offering long-lasting value. With Daring Lily, you can enjoy the convenience of a salon-quality look without breaking the bank.
Tips and Best Practices for Applying Press-On Nails
To ensure a seamless and long-lasting application of your press-on nails, consider the following tips and best practices:
- Thoroughly clean and dehydrate your natural nails before application to maximize adhesion.
- Carefully size the press-on nails to ensure a comfortable and secure fit.
- Apply a thin, even layer of high-quality nail glue to both the press-on nail and your natural nail bed.
- Press the nail firmly for 30 seconds to create a strong bond, starting at the cuticle and working your way down.
- Use a nail file to gently shape and blend the edges of the press-on nails for a flawless finish.
- Consult the specific application instructions provided by your press-on nail brand, such as Daring Lily, for optimal results.
Conclusion: Elevate Your Look with Daring Lily's Press-On Nails
With the step-by-step guide provided, you now have the knowledge and confidence to apply press-on nails with glue for a stunning, salon-quality manicure. Daring Lily offers a wide range of collections, including the Radiant Gems Collection, Artisan Marble Collection, Floral Artistry Collection, Classic Chic Collection, Artistic Flair Collection, and Metallic Glamour Collection, all of which offer a unique and luxurious nail experience. Embrace the convenience and beauty of Daring Lily's press-on nails and elevate your style with ease.
