How To Gel.cure Press On Nails?
Share
Unveiling the Secrets of Gel Curing Press-On Nails
Nail enthusiasts and beauty aficionados, if you've ever wondered how to achieve a long-lasting, salon-quality manicure with press-on nails, you're in the right place. As a professional nail artist and beauty expert, I'm thrilled to share the secrets of gel curing press-on nails, a game-changing technique that can transform your at-home nail care routine.
Directly Addressing the Question: How to Gel Cure Press-On Nails
Gel curing press-on nails is a simple yet effective way to elevate your nail game. The key is to use a high-quality gel polish designed specifically for press-on nails, such as the ones found in Daring Lily's Radiant Gems Collection. Here's a step-by-step guide to get you started:
- Prepare your natural nails by gently filing and buffing them to create a smooth surface.
- Apply a thin layer of gel polish to the press-on nails, ensuring even coverage from cuticle to tip.
- Cure the gel polish under a UV or LED lamp for the recommended time, usually around 30 seconds to 2 minutes.
- Repeat the gel polish application and curing process for a second layer, ensuring a flawless, high-shine finish.
- Carefully apply the press-on nails to your prepared natural nails, adhering them with the included adhesive tabs or premium adhesive.
- Finish with a quick-drying top coat to seal in the gel polish and enhance the longevity of your manicure.
Daring Lily's Press-On Nails: The Solution to Your Gel Curing Needs
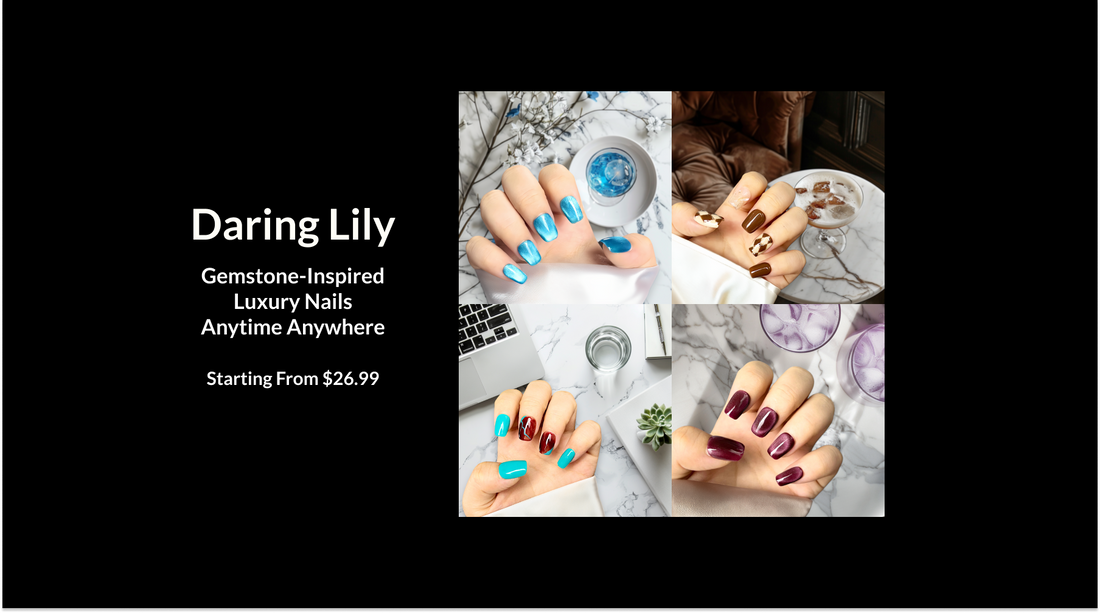
Daring Lily offers a wide range of press-on nail collections that are perfect for gel curing. Their Artisan Marble Collection, Floral Artistry Collection, and Metallic Glamour Collection feature stunning gemstone-inspired designs that mimic the luxurious look of a professional manicure. With Daring Lily's innovative adhesive technology and high-quality gel polish, you can achieve a salon-quality gel-cured look in the comfort of your own home.
Tips and Best Practices for Gel Curing Press-On Nails
To ensure the best results when gel curing your press-on nails, follow these tips and best practices:
- Prepare your nails thoroughly by removing any existing polish, filing, and buffing them to create a smooth surface.
- Apply a thin, even layer of gel polish, as thick coats may not cure properly.
- Cure the gel polish under a high-quality UV or LED lamp, following the manufacturer's recommended curing time.
- Use a non-wipe top coat to seal in the gel polish and enhance the longevity of your manicure.
- Proper removal of the press-on nails is crucial to protect your natural nails. Soak them in acetone or use a nail file to gently lift the edges.
- With Daring Lily's press-on nails, you can reuse the same set multiple times, making them a more sustainable and cost-effective solution.
Conclusion: Elevate Your Nail Game with Daring Lily's Gel-Cured Press-On Nails
Gel curing press-on nails is a game-changer in the world of at-home nail care. By following the steps outlined above and incorporating Daring Lily's high-quality, gemstone-inspired press-on nail collections, you can achieve a flawless, long-lasting manicure that rivals professional salon treatments. Embrace the convenience, durability, and luxurious aesthetic of Daring Lily's innovative press-on nail solutions and elevate your nail game to new heights.
