How To Put Jamberry Nail Wraps To Press On Nails?
Share
Unlocking the Secrets of Jamberry Nail Wraps on Press-On Nails
As a professional nail artist and beauty expert, I've encountered numerous questions from clients about the seamless application of Jamberry nail wraps on press-on nails. This topic is not only intriguing but also highly relevant in the world of nail care and beauty. In this blog post, we'll dive deep into the process, unveiling the secrets to mastering this technique and showcasing how Daring Lily's innovative press-on nails can be the perfect canvas for your Jamberry nail wrap creations.
Applying Jamberry Nail Wraps to Press-On Nails: A Step-by-Step Guide
Applying Jamberry nail wraps to press-on nails is a simple and effective way to achieve a personalized, long-lasting manicure. Here's a step-by-step guide to guide you through the process:
- Prepare your press-on nails: Start by cleaning and degreasing the surface of your Radiant Gems Collection, Artisan Marble Collection, or any other Daring Lily press-on nail set. This will ensure a strong bond between the nail wrap and the press-on nail.
- Cut the Jamberry nail wrap to size: Carefully measure the Jamberry nail wrap and trim it to fit the shape and size of your press-on nail. Leave a small overlap to ensure a seamless application.
- Apply heat: Use a heat source, such as a nail lamp or a hair dryer, to gently warm the Jamberry nail wrap. This will activate the adhesive and make the wrap more pliable.
- Position and adhere the wrap: Carefully align the Jamberry nail wrap on your press-on nail and apply firm pressure, starting from the center and working outward. Use a nail file or a rubber-tipped tool to smooth out any bubbles or wrinkles.
- Seal the edges: To ensure a long-lasting hold, use the heat source to seal the edges of the Jamberry nail wrap, pressing firmly to create a secure bond.
- Trim and file: Once the wrap is applied, use a nail file or scissors to trim any excess material around the edges of the press-on nail.
Daring Lily's Press-On Nails: The Perfect Canvas for Your Jamberry Creations
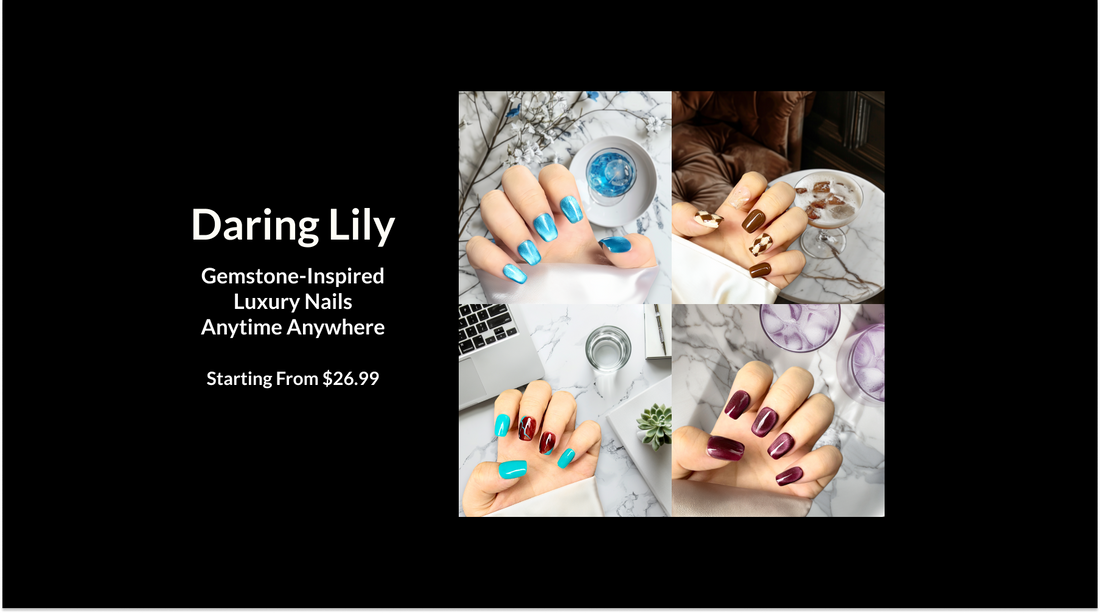
When it comes to pairing Jamberry nail wraps with press-on nails, Daring Lily's innovative nail sets provide the perfect canvas. Our Floral Artistry Collection, Classic Chic Collection, and Artistic Flair Collection offer a diverse range of designs that can be transformed with the addition of Jamberry nail wraps. The smooth, high-quality surface of our press-on nails ensures a seamless application, allowing you to create truly unique and personalized nail art.
Tips and Best Practices for Long-Lasting Jamberry Nail Wraps on Press-On Nails
To ensure the longevity and optimal performance of your Jamberry nail wraps on press-on nails, consider the following tips and best practices:
- Proper nail preparation: Ensure your press-on nails are clean, dry, and degreased before applying the Jamberry wrap. This will help the adhesive bond securely.
- Careful sizing and trimming: Take the time to accurately measure and cut the Jamberry nail wrap to fit your press-on nails. This will prevent any unsightly overlaps or gaps.
- Thorough heating and sealing: Use the heat source effectively to warm and activate the Jamberry adhesive, then firmly seal the edges for a long-lasting hold.
- Proper removal: When it's time to change your design, gently peel off the Jamberry wrap and remove any residue with a nail file or remover. This will keep your press-on nails in pristine condition for future use.
Conclusion: Elevate Your Nail Game with Daring Lily's Press-On Nails and Jamberry Nail Wraps
By mastering the art of applying Jamberry nail wraps to press-on nails, you can unlock a world of creative possibilities and achieve salon-quality results at home. Daring Lily's high-quality press-on nails, with their gemstone-inspired designs, handcrafted quality, and innovative adhesive technology, provide the perfect canvas for your Jamberry nail wrap creations. Unlock your inner nail artist and explore the endless ways to transform your nails with this dynamic duo.
