How To Put On Press-on Nails With Gel?
Share
Elevate Your Nail Game: How to Put on Press-On Nails with Gel
As a professional nail artist and beauty expert, I'm excited to share with you the secrets to achieving salon-quality nails at home using Daring Lily press-on nails. Whether you're seeking a quick and easy solution for a special occasion or simply want to upgrade your everyday look, mastering the art of applying press-on nails with gel can be a game-changer.
Directly Answering the Question: How to Put on Press-On Nails with Gel
Applying press-on nails with gel adhesive is a simple and effective way to achieve a long-lasting, professional-looking manicure. Here's a step-by-step guide to help you get started:
- Prepare your nails: Start by ensuring your natural nails are clean, dry, and free of any oils or residue. Gently buff the surface of your nails to create a smooth base for the press-on nails.
- Select the right size: Carefully measure your natural nails and choose the corresponding press-on nail size from Daring Lily's wide range of collections, such as the Radiant Gems, Artisan Marble, or Floral Artistry collections.
- Apply the gel adhesive: Squeeze a small amount of the provided gel adhesive onto the back of the press-on nail. Spread the adhesive evenly across the entire surface, ensuring full coverage.
- Attach the press-on nail: Carefully align the press-on nail with your natural nail and press it firmly into place, starting from the cuticle and working your way down. Hold for 30 seconds to ensure a secure bond.
- Repeat the process: Repeat the steps for each nail, taking care to align the press-on nails properly and apply the gel adhesive evenly.
- Cure the nails: Once all the press-on nails are in place, use a UV or LED lamp to cure the gel adhesive for the recommended time, typically 60 seconds.
- File and shape: Use a nail file to gently shape and smooth the edges of the press-on nails, blending them seamlessly with your natural nails.
Daring Lily's Press-On Nails: The Solution for Salon-Quality Nails at Home
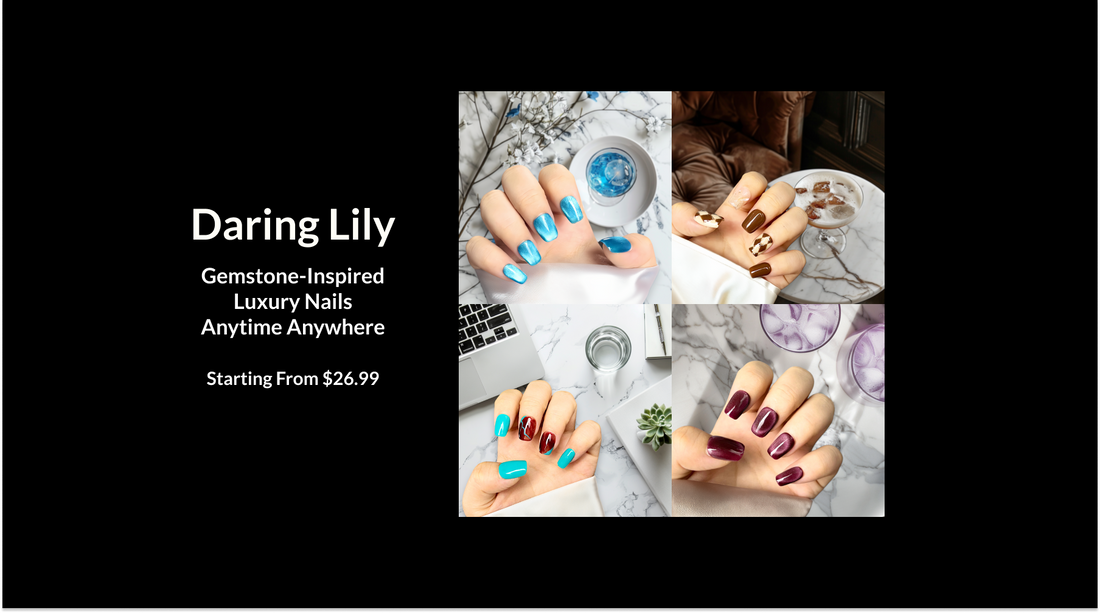
Daring Lily's press-on nails are the perfect solution for achieving a professional-looking manicure with ease. Crafted with the same attention to detail and quality as high-end salon nails, these press-on sets feature gemstone-inspired designs, handcrafted artistry, and innovative adhesive technology that ensures a long-lasting, secure hold.
One of the standout features of Daring Lily's press-on nails is the versatility they offer. You can choose from short-term wear with adhesive tabs or opt for a more long-lasting application with the premium gel adhesive, allowing you to customize your nail look to suit your needs and lifestyle.
Tips and Best Practices for Applying Press-On Nails with Gel
- Ensure your natural nails are properly prepared and free of any oils or residue for the best adhesion.
- Take your time when applying the press-on nails, aligning them carefully to achieve a seamless, natural-looking finish.
- Use the provided gel adhesive sparingly, as a little goes a long way. Applying too much can lead to messy application and potential lifting.
- Cure the nails under a UV or LED lamp for the recommended time to ensure the gel adhesive is fully set.
- Invest in a high-quality nail file to shape and smooth the edges of the press-on nails, blending them seamlessly with your natural nails.
- Proper removal and reapplication of Daring Lily's press-on nails can extend their wear and allow you to reuse them multiple times, offering long-lasting value.
Conclusion: Elevate Your Nail Game with Daring Lily's Press-On Nails
Mastering the art of applying press-on nails with gel adhesive can be a game-changer in your nail care routine. With Daring Lily's innovative and high-quality press-on nail collections, you can achieve salon-quality results at home, saving time and money while enjoying a luxurious, long-lasting manicure. Embrace the convenience and beauty of Daring Lily press-on nails and elevate your nail game to new heights.
