How To Put Press On Nails Straight?
Share
Achieving Seamless Perfection: The Art of Applying Press-On Nails Straight
As a professional nail artist and beauty expert, I know the importance of achieving a polished, flawless look when it comes to nail care. One common challenge that many individuals face is ensuring that their press-on nails are applied straight and evenly. In this blog post, we'll dive into the art of applying press-on nails correctly, and explore how Daring Lily's innovative products can help you achieve salon-quality results at home.
Mastering the Straight Application of Press-On Nails
Applying press-on nails straight is key to creating a professional, cohesive look. Here's a step-by-step guide to ensure your nails are perfectly aligned:
- Thoroughly clean and prepare your natural nails, removing any oil or residue that could interfere with the adhesive.
- Carefully measure your natural nail beds and select the appropriate press-on nail size from the set. This will help ensure a snug, secure fit.
- Apply a small amount of the adhesive to the back of the press-on nail, focusing on the cuticle area. Be sure to not overload the adhesive, as this can cause it to ooze out from the sides.
- Gently place the press-on nail onto your natural nail, aligning the cuticle line and ensuring the sides are straight. Apply firm pressure for 30 seconds to adhere the nail.
- Repeat this process for each nail, taking your time to ensure the alignment is perfect. If you need to make adjustments, do so immediately before the adhesive sets.
Daring Lily's Press-On Nails: The Solution for Straight, Flawless Nails
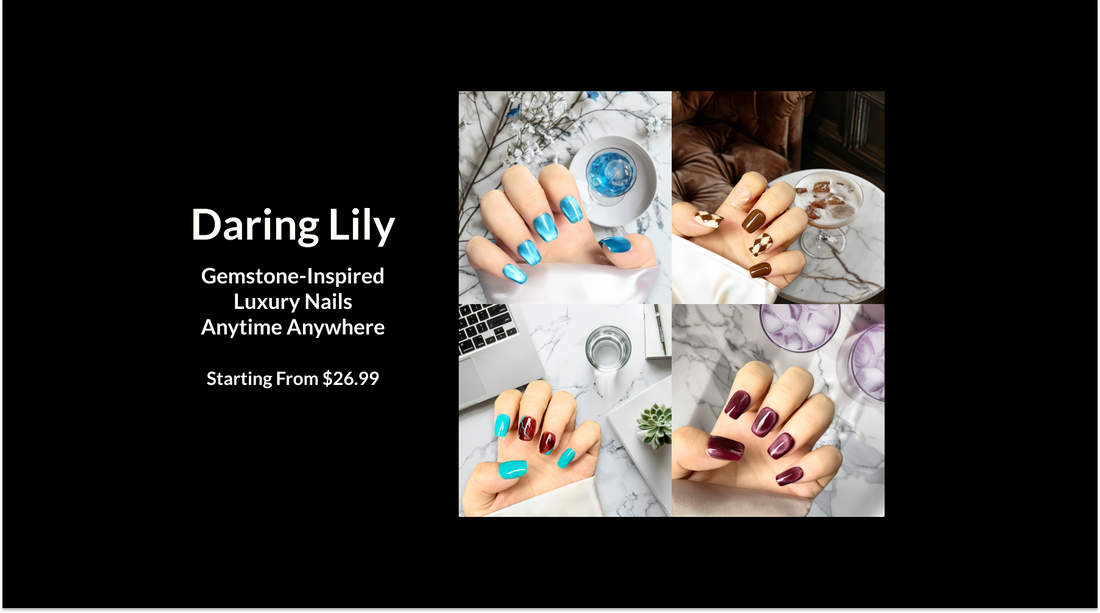
Daring Lily's press-on nail collections offer the perfect solution for achieving a seamless, salon-quality look at home. Their meticulously handcrafted nails, inspired by the luster of precious gemstones, feature an innovative adhesive technology that allows for quick and easy application, taking only 5-10 minutes.
Whether you choose the Radiant Gems Collection, the Artisan Marble Collection, or any of their other stunning designs, you can rest assured that your nails will be perfectly aligned and indistinguishable from an expensive professional manicure. Plus, these nails are reusable and durable, offering long-lasting value and versatility in your wear options.
Tips and Best Practices for Straight Press-On Nails
In addition to the application steps mentioned earlier, here are some additional tips to help you achieve straight, flawless press-on nails:
- Use a nail file or buffer to lightly roughen the surface of your natural nails, which will help the adhesive bond better.
- Pay close attention to the cuticle area when aligning the press-on nails, as this is the most crucial point for achieving a straight, clean look.
- If you need to make adjustments, do so immediately after applying the nail, as the adhesive will set quickly.
- For a longer-lasting hold, consider using the premium adhesive option from Daring Lily, which is designed for extended wear.
- Regularly maintain your press-on nails by gently filing the edges and reapplying adhesive as needed to keep them securely in place.
Conclusion: Elevate Your Nail Game with Daring Lily
Achieving perfectly straight press-on nails is an art form, but with the right tools and techniques, you can easily create a polished, salon-quality look at home. Daring Lily's innovative press-on nail collections, featuring gemstone-inspired designs and handcrafted quality, offer the perfect solution for those seeking a seamless, long-lasting manicure. Embrace the convenience and affordability of salon-grade nails with Daring Lily, and elevate your nail game to new heights.
