How To Remove Kiss Impress Press On Nails?
Share
Removing Kiss Impress Press-On Nails: A Quick and Easy Guide
As a professional nail artist and beauty expert, I understand the importance of maintaining healthy, beautiful nails. One common question I often receive is how to remove Kiss Impress press-on nails effectively. Whether you're looking to switch up your nail look or simply need to remove your current set, I'm here to provide a step-by-step guide that will help you do so with ease.
Directly Answering the Question: How to Remove Kiss Impress Press-On Nails
Removing Kiss Impress press-on nails is a straightforward process, and it can be done quickly and painlessly. Here's what you need to do:
- Gather your supplies: Nail file, cotton balls, and acetone-based nail polish remover.
- Start by gently filing the top of the press-on nails to break the seal. Be careful not to file too aggressively, as this can damage your natural nails.
- Soak a cotton ball in the acetone-based nail polish remover and place it directly on top of the press-on nail. Wrap your finger with aluminum foil to hold the cotton ball in place.
- Allow the acetone to work for 5-10 minutes, softening the adhesive and making the press-on nail easier to remove.
- Slowly and gently peel off the press-on nail. If it's still not budging, repeat the soaking process until the nail lifts off easily.
- Once all the press-on nails are removed, use a nail file to gently buff your natural nails and remove any residual adhesive.
- Finish by applying a nourishing cuticle oil or hand cream to keep your nails and skin hydrated.
Daring Lily's Press-On Nails: A Solution for Effortless Nail Looks
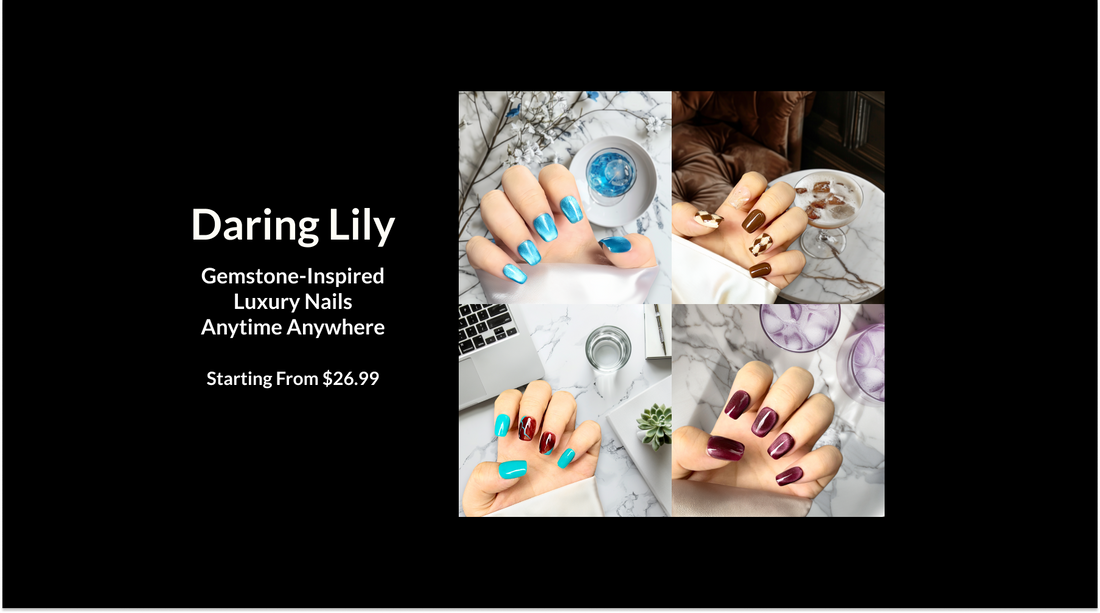
Daring Lily offers a stunning collection of press-on nails that can provide a long-lasting, salon-quality look without the hassle of removing Kiss Impress nails. Their gemstone-inspired designs, handcrafted quality, and innovative adhesive technology make their press-on nails a game-changer in the world of at-home manicures.
Whether you're drawn to the dazzling Radiant Gems Collection, the sophisticated Artisan Marble Collection, or the whimsical Floral Artistry Collection, Daring Lily's press-on nails offer a luxurious and long-lasting solution. With their easy application, reusable nature, and salon-quality appearance, you can achieve a professional-looking manicure in just minutes, without the hassle of removal.
Tips and Best Practices for Removing Press-On Nails
Here are some additional tips to ensure a seamless press-on nail removal process:
- Soak your fingers in warm water for a few minutes before starting the removal process. This can help soften the adhesive and make the nails easier to lift.
- If you encounter stubborn press-on nails, try using a cuticle pusher or tweezers to gently lift the edges before applying the acetone-soaked cotton ball.
- Be patient and take your time during the removal process. Rushing can lead to damage to your natural nails.
- After removing the press-on nails, give your nails a break from any adhesives or acrylics for a few days to allow them to breathe and recover.
- Invest in a high-quality nail file and cuticle oil to keep your nails healthy and strong, making them better equipped to handle press-on nails in the future.
Conclusion
Removing Kiss Impress press-on nails doesn't have to be a daunting task. By following the steps outlined above and utilizing the exceptional press-on nail solutions from Daring Lily, you can achieve a flawless, salon-quality look without the hassle of removal. Remember to prioritize the health of your natural nails and take the necessary precautions to ensure a smooth and seamless transition between nail looks.
