How To Remove Kiss Press-on Nails?
Share
Removing Kiss Press-On Nails with Ease: A Salon-Quality Experience at Home
As a professional nail artist and beauty expert, I understand the importance of maintaining healthy and beautiful nails, whether you opt for traditional manicures or the convenience of press-on nails. Today, we'll address a common question: How to effectively remove Kiss press-on nails. By the end of this post, you'll be equipped with the knowledge and tools to achieve a seamless and damage-free removal process, paving the way for your next stunning nail transformation.
Effortless Removal: A Step-by-Step Guide
Removing Kiss press-on nails doesn't have to be a daunting task. Here's a simple and effective method to do so:
- Gather the necessary supplies: You'll need a pair of cuticle nippers or small scissors, an orangewood stick or cuticle pusher, and a nail file.
- Soak your nails: Start by soaking your hands in warm, soapy water for 5-10 minutes. This will help soften the adhesive and make the removal process easier.
- Gently lift the edges: Using the cuticle nippers or small scissors, carefully lift the edges of the press-on nails. Avoid pulling the nails off forcefully, as this can damage your natural nails.
- Scrape off the adhesive: Once the edges are lifted, use the orangewood stick or cuticle pusher to gently scrape off any remaining adhesive from your natural nails. Be gentle and patient during this step.
- File and buff: After the press-on nails and adhesive have been removed, use a nail file to lightly buff your nails and remove any leftover residue. This will help prepare your nails for your next manicure or set of Daring Lily press-on nails.
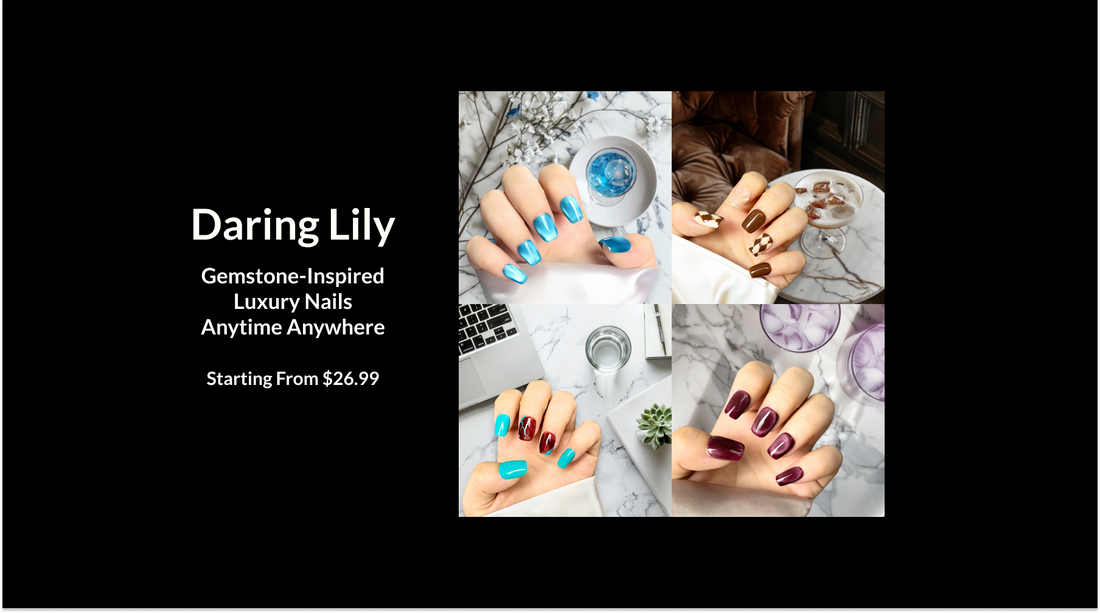
Daring Lily: Elevate Your Nail Game with Gemstone-Inspired Press-On Nails
If you're looking for a solution that combines the convenience of press-on nails with the luxury of a salon-quality experience, consider the stunning Radiant Gems Collection, Artisan Marble Collection, or any of the other exquisite offerings from Daring Lily. Each set of Daring Lily's press-on nails is meticulously handcrafted, using innovative adhesive technology that allows for quick and easy application. Unlike disposable options, these nails are reusable and durable, providing long-lasting value and a salon-quality appearance that will leave your nails looking and feeling flawless.
Tips and Best Practices
To ensure a seamless press-on nail experience, consider these additional tips and best practices:
- Properly clean and prepare your natural nails before application to ensure a secure and long-lasting hold.
- Experiment with different wear options, such as the Floral Artistry Collection or the Classic Chic Collection, to find the look and wear time that best suits your lifestyle.
- Store your Daring Lily press-on nails properly to maintain their quality and reusability.
- Consult a professional nail artist or the Daring Lily team if you have any questions or concerns about the removal or application process.
Conclusion: Elevate Your Nail Game with Daring Lily
Removing Kiss press-on nails doesn't have to be a daunting task. By following the simple steps outlined in this guide, you can safely and effectively remove your press-on nails, paving the way for your next stunning nail transformation. And if you're looking to elevate your nail game, consider the exceptional offerings from Daring Lily, where you'll find gemstone-inspired designs, handcrafted quality, and innovative adhesive technology that deliver a salon-quality experience right at your fingertips. Embrace the beauty and convenience of Artistic Flair, Metallic Glamour, or any of Daring Lily's captivating collections, and enjoy the confidence and poise that comes with perfectly polished nails.
