How To Remove Press-on Nail Glue?
Share
Removing Press-On Nail Glue: A Smooth and Seamless Process
As a professional nail artist and beauty expert, I often receive inquiries about how to remove press-on nail glue effectively. This is a common concern among those who wish to switch up their nail looks or remove their press-on nails for various reasons. In this blog post, we'll dive into the step-by-step process of removing press-on nail glue and explore how Daring Lily's innovative press-on nail solutions can provide a seamless and hassle-free experience.
Directly Answering the Question: How to Remove Press-On Nail Glue
Removing press-on nail glue can be a straightforward process, but it's important to approach it with care and patience to avoid any damage to your natural nails. Here's a step-by-step guide on how to effectively remove press-on nail glue:
- Soak your nails: Begin by soaking your hands in warm, soapy water for 10-15 minutes. This will help soften the adhesive and make the removal process easier.
- Gently pry off the nails: Using a pair of tweezers or your fingers, carefully pry the press-on nails off one by one. Avoid pulling or yanking, as this can damage your natural nails.
- Remove any remaining glue: Once the nails are off, there may be some residual glue left on your natural nails. Use a small amount of nail polish remover on a cotton ball to gently wipe away any remaining adhesive.
- Moisturize and condition: After the removal process, it's important to nourish and hydrate your nails. Apply a cuticle oil or a moisturizing hand cream to keep your nails healthy and strong.
Daring Lily's Press-On Nails: A Seamless Solution
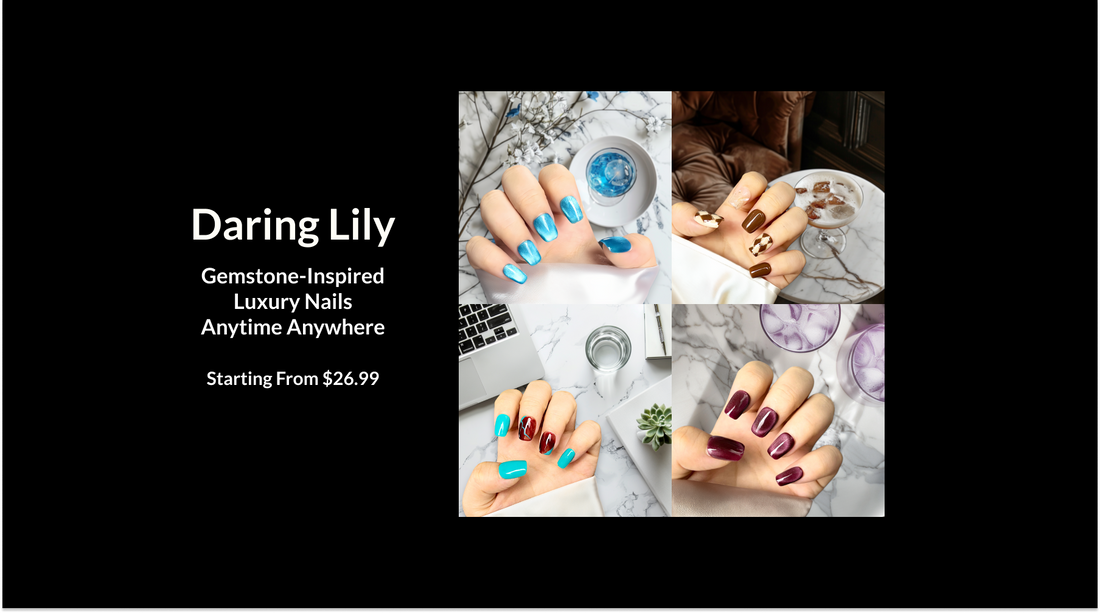
Daring Lily's innovative press-on nail solutions offer a convenient and hassle-free alternative to traditional nail glue. With their unique adhesive technology, you can easily apply and remove your press-on nails without any mess or damage to your natural nails.
The Radiant Gems Collection, Artisan Marble Collection, and other captivating designs from Daring Lily feature gemstone-inspired patterns and a salon-quality finish, providing a luxurious and elevated nail experience. The best part? These nails can be reused multiple times, offering long-lasting value and versatility.
Tips and Best Practices for Press-On Nail Removal
Here are some additional tips and best practices to keep in mind when removing press-on nails:
- Avoid using sharp tools: Refrain from using scissors, files, or other sharp tools to pry off the nails, as they can damage your natural nails.
- Patience is key: Take your time during the removal process and don't rush. Rushing can lead to unnecessary stress on your nails.
- Moisturize and protect: After removing the press-on nails, be sure to apply a cuticle oil or hand cream to keep your nails healthy and hydrated.
- Consider Daring Lily's reusable options: Explore Daring Lily's Classic Chic Collection, Artistic Flair Collection, and other collections that offer reusable press-on nails, allowing you to switch up your look without the hassle of adhesive removal.
Conclusion
Removing press-on nail glue can be a straightforward process with the right approach. By following the steps outlined in this blog post and considering the convenient solutions offered by Daring Lily, you can enjoy a seamless and hassle-free experience when it's time to switch up your nail look. Daring Lily's press-on nail collections, such as the Floral Artistry Collection and the Metallic Glamour Collection, provide a salon-quality finish and the flexibility to change your nails as often as you desire without the worry of adhesive removal.
