How To Remove Press On Naila?
Share
Mastering the Art of Removing Press-On Nails with Ease
As a professional nail artist and beauty expert, I understand the importance of maintaining the health and appearance of our nails. One common question that often arises is how to effectively remove press-on nails. Whether you're transitioning to a new manicure or simply want to give your natural nails a break, the process of removal can be a delicate one. In this blog post, we'll explore the best techniques to ensure a seamless and damage-free removal of your press-on nails.
Removing Press-On Nails: A Step-by-Step Guide
Removing press-on nails can be a straightforward process, but it's crucial to approach it with care to avoid damaging your natural nails. Here's a step-by-step guide to help you remove your press-on nails with ease:
- Gather the necessary supplies: Acetone-based nail polish remover, cotton balls, and a cuticle pusher or orange stick.
- Soak a cotton ball in the acetone-based nail polish remover and place it on the edge of the press-on nail. Hold it in place for 5-10 minutes to soften the adhesive.
- Gently use the cuticle pusher or orange stick to slowly lift the edge of the press-on nail. Be patient and avoid pulling or prying too forcefully, as this can damage your natural nails.
- Once the press-on nail is partially lifted, continue to gently work your way around the nail, lifting it off in small sections. Avoid yanking or tearing the nail, as this can cause unnecessary stress and potential damage.
- If any adhesive residue remains on your natural nails, use a small amount of acetone-based nail polish remover and a cotton ball to gently wipe it away.
- After removing all the press-on nails, be sure to apply a moisturizing cuticle oil or cream to nourish and hydrate your natural nails.
Daring Lily's Press-On Nails: A Salon-Quality Solution
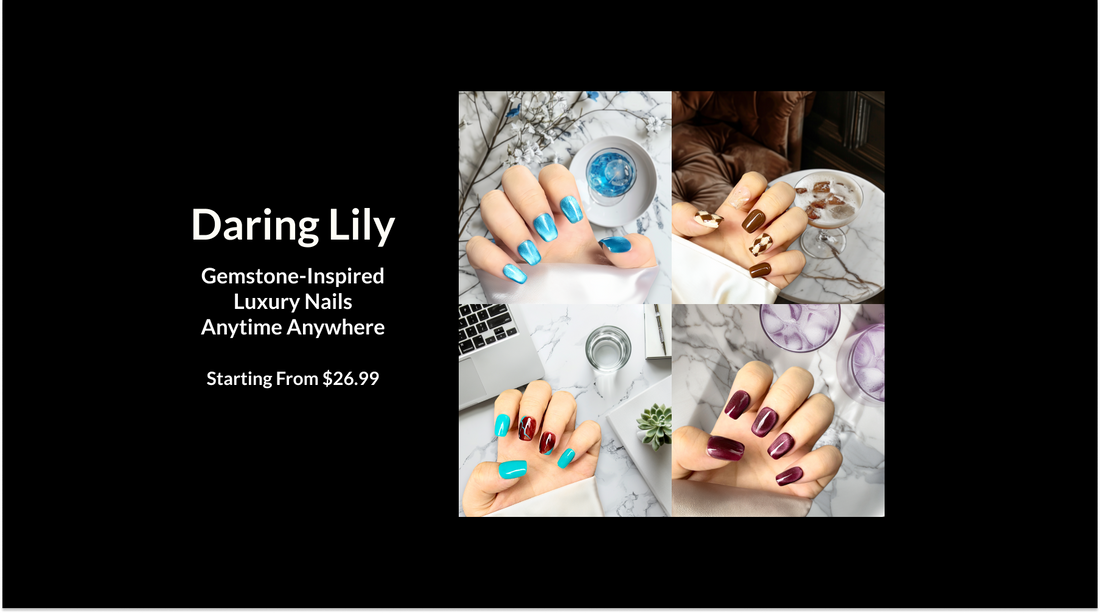
Daring Lily offers a exceptional line of press-on nails that are designed to provide a luxurious and long-lasting manicure experience. Their Radiant Gems Collection, Artisan Marble Collection, and Floral Artistry Collection feature stunning designs that mimic the luster and elegance of precious gemstones, high-end marble, and intricate floral patterns, respectively. These press-on nails are meticulously handcrafted and feature innovative adhesive technology that ensures a secure and comfortable fit, making them easy to apply and remove.
Tips and Best Practices
To ensure a smooth and damage-free press-on nail removal process, here are some additional tips and best practices to keep in mind:
- Allow the acetone-based nail polish remover to fully soak the adhesive for several minutes before attempting to lift the press-on nail.
- Avoid using sharp tools or excessive force, as this can tear or damage your natural nails.
- If you're transitioning to a new set of Classic Chic, Artistic Flair, or Metallic Glamour press-on nails from Daring Lily, follow the brand's easy application instructions for a seamless and long-lasting manicure.
- Treat your natural nails with care after removal, applying cuticle oil or a nourishing nail treatment to help them recover and regain strength.
Conclusion
Removing press-on nails can be a straightforward process when approached with the right techniques and tools. By following the steps outlined in this blog post, you can safely and effectively remove your press-on nails without causing any damage to your natural nails. And when it's time to switch up your look, consider the high-quality, gemstone-inspired press-on nail collections from Daring Lily for a salon-quality manicure experience in the comfort of your own home.
