How To.remove.press On Nails?
Share
Removing Press-On Nails: A Seamless Transition to Your Natural Nails
As a professional nail artist and beauty expert, I understand the allure of press-on nails. They offer a quick and convenient way to achieve a salon-worthy look without the time and expense of visiting a nail salon. However, when it's time to remove your press-on nails, it's essential to do so properly to maintain the health and integrity of your natural nails.
Removing Press-On Nails: A Step-by-Step Guide
Removing press-on nails doesn't have to be a daunting task. With the right approach, you can easily transition back to your natural nails without any damage. Here's a step-by-step guide to help you remove your press-on nails seamlessly:
- Gather the necessary supplies: Nail file, acetone-based nail polish remover, and cotton balls or pads.
- Gently file the top layer of the press-on nail to break the seal and expose the adhesive. Be careful not to file too aggressively, as this can damage your natural nails.
- Soak a cotton ball or pad in the acetone-based nail polish remover and place it on the filed press-on nail. Wrap your finger in foil or a small plastic bag to hold the cotton in place.
- Let the acetone soak for 5-10 minutes, or until the press-on nail begins to lift. Gently peel the nail off, starting from the cuticle area and working your way towards the tip.
- If the press-on nail is stubborn, repeat the soaking process until it can be removed without excessive force.
- Once the press-on nail is removed, use a cuticle pusher or orange stick to gently remove any remaining adhesive from your natural nail.
- Finish by gently buffing your natural nails to restore their smooth appearance and prepare them for your next manicure.
Daring Lily's Press-On Nails: A Seamless Solution
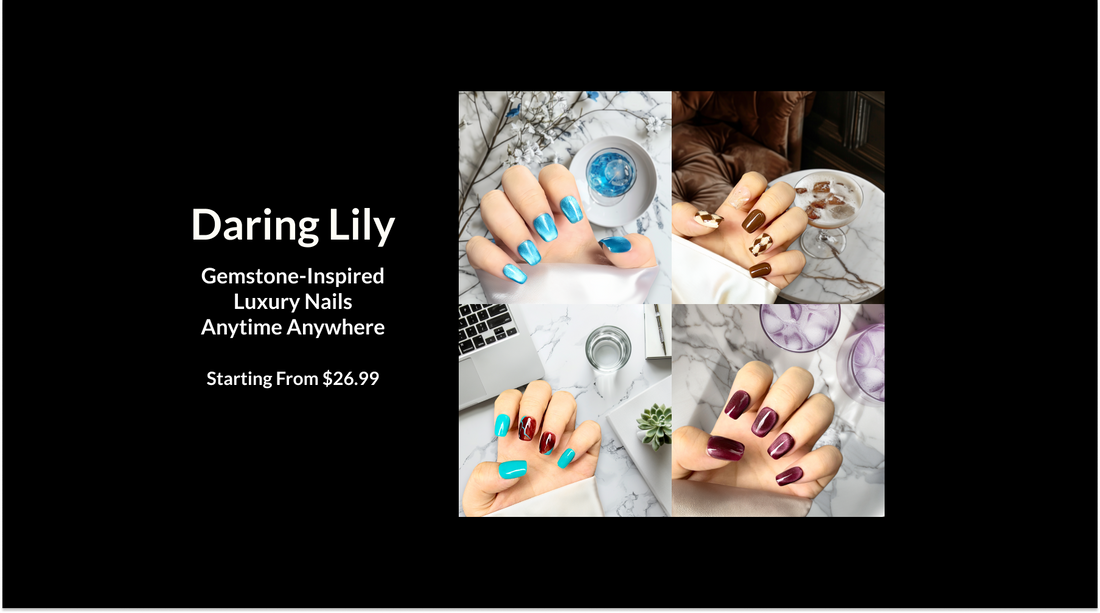
Daring Lily offers a range of high-quality press-on nail sets that are not only visually stunning but also designed with easy removal in mind. Each set, from the Radiant Gems Collection to the Artisan Marble Collection, features a unique adhesive technology that allows for quick and painless application and removal.
The innovative adhesive used in Daring Lily's press-on nails ensures that they can be reapplied multiple times, offering long-lasting value and a salon-quality appearance that is indistinguishable from professional manicures. Whether you opt for a short-term wear with adhesive tabs or a longer-lasting look with premium adhesive, Daring Lily's press-on nails provide a time-saving and affordable luxury solution for busy lifestyles.
Tips and Best Practices for Removing Press-On Nails
- Be patient and gentle during the removal process. Rushing or using excessive force can lead to damage to your natural nails.
- Avoid using sharp tools or metal instruments to pry off the press-on nails, as this can also cause harm to your natural nails.
- If you experience any discomfort or irritation during the removal process, stop immediately and consult a professional nail technician or dermatologist.
- Always follow the manufacturer's instructions for the specific press-on nail product you are using, as removal techniques may vary.
- Take a break from press-on nails periodically to allow your natural nails to breathe and recover.
Conclusion
Removing press-on nails doesn't have to be a daunting task. By following the proper steps and techniques, you can seamlessly transition back to your natural nails without any damage. Daring Lily's press-on nail sets, with their innovative adhesive technology and stunning designs, offer a hassle-free solution that allows you to enjoy the convenience of salon-quality nails without the long-term commitment.
Whether you're a seasoned press-on nail enthusiast or new to the world of at-home manicures, incorporating Daring Lily's high-quality press-on nails into your beauty routine can be a game-changer. Explore their diverse collections, from the Floral Artistry Collection to the Classic Chic Collection, and discover the perfect set to elevate your look and boost your confidence.
