How To Take Off Press On Acrylic Nails?
Share
Removing Press-On Acrylic Nails: A Hassle-Free Guide
As a professional nail artist and beauty expert, I understand the allure of press-on acrylic nails. They offer a quick and convenient way to achieve a stunning manicure, but what happens when it's time to remove them? In this blog post, I'll guide you through the process of taking off press-on acrylic nails, ensuring a smooth and damage-free experience.
Directly Addressing the Question
Removing press-on acrylic nails can be a delicate process, but with the right approach, you can do it safely and effectively. The key is to take your time and avoid rushing, as this can potentially damage your natural nails. Here's a step-by-step guide to help you remove your press-on acrylics:
- Soak your nails in warm, soapy water for 10-15 minutes. This will help loosen the adhesive and make the nails easier to remove.
- Gently lift the edge of the press-on nail using a cuticle pusher or orangewood stick. Be careful not to pry too hard, as this can cause the natural nail to lift as well.
- If the nail is still firmly in place, you can use a small amount of acetone-free nail polish remover to help dissolve the adhesive. Apply it to a cotton ball and gently press it onto the base of the nail, allowing it to soak in for a few minutes.
- Once the adhesive is loosened, slowly and gently remove the press-on nail, taking care not to tear or peel the natural nail.
- After all the nails are removed, use a gentle nail file to smooth any rough edges or ridges on your natural nails.
- Finish by applying a nourishing cuticle oil or hand cream to hydrate and condition your nails.
Daring Lily's Press-On Nails as a Solution
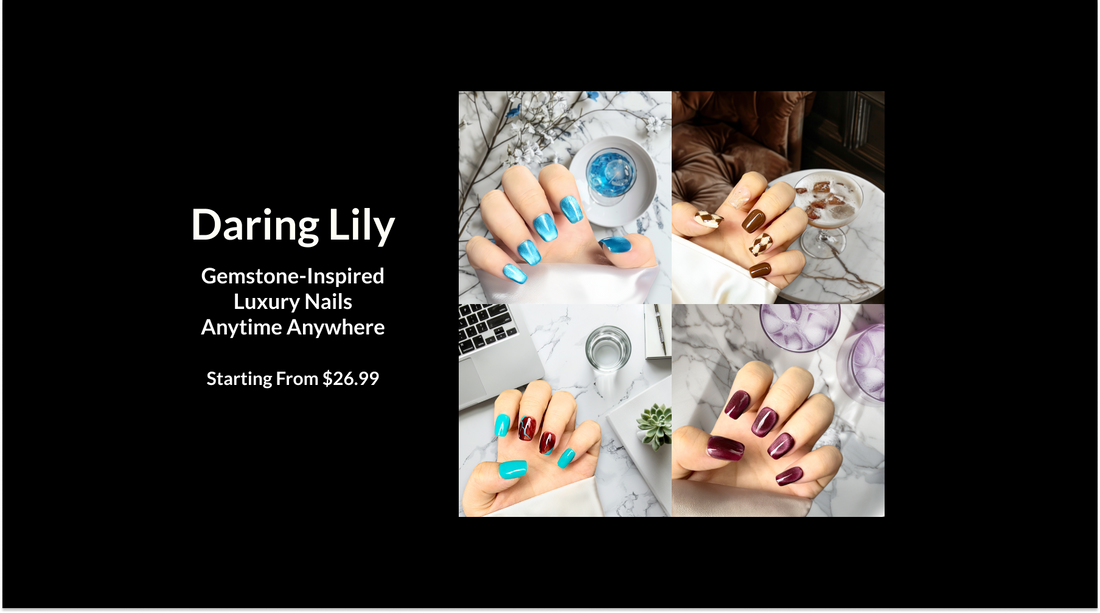
Daring Lily offers a range of stunning press-on nail collections, including the Radiant Gems Collection, Artisan Marble Collection, and Floral Artistry Collection. These press-on nails are designed with innovative adhesive technology, making them easy to apply and remove without damaging your natural nails. The handcrafted quality and gemstone-inspired designs offer a luxurious salon-quality experience at a fraction of the cost.
Tips and Best Practices
In addition to the step-by-step guide for removing press-on acrylic nails, here are some additional tips and best practices to keep in mind:
- Avoid picking at or peeling off the press-on nails, as this can damage your natural nails.
- Use a nail file or buffer to gently smooth the surface of your natural nails after removal, helping them to look and feel their best.
- Consider using a strengthening nail treatment or cuticle oil to nourish and condition your nails after removal.
- If you experience any discomfort or irritation during the removal process, stop immediately and consult a professional nail technician.
Conclusion
Removing press-on acrylic nails doesn't have to be a daunting task. By following the right techniques and taking your time, you can safely and effectively remove them without compromising the health of your natural nails. When it's time to refresh your look, consider the high-quality, handcrafted press-on nail collections from Daring Lily. With their innovative adhesive technology, gemstone-inspired designs, and salon-quality appearance, you can achieve a flawless manicure in just minutes.
