How To Take Off Press On Nails Adhesive?
Share
How to Effortlessly Remove Press-On Nails Adhesive
As a professional nail artist and beauty expert, I understand the importance of achieving a flawless, salon-quality look without the hassle of lengthy salon visits. That's why Daring Lily's press-on nails have become a game-changer in the nail care industry. However, properly removing the adhesive can be a concern for some. In this blog post, I'll provide you with a comprehensive guide on how to effectively remove press-on nails adhesive, ensuring a smooth and damage-free transition.
Removing Press-On Nails Adhesive with Ease
Removing press-on nails adhesive doesn't have to be a daunting task. With the right techniques and tools, you can gently and efficiently remove the adhesive without causing any damage to your natural nails. Here's a step-by-step guide to help you out:
- Soak Your Nails: Start by soaking your nails in warm water for 10-15 minutes. This will help soften the adhesive and make it easier to remove.
- Apply Acetone-Free Nail Polish Remover: Dip a cotton ball in an acetone-free nail polish remover and gently dab it onto the adhesive, focusing on the edges of the press-on nails. Allow the remover to sit for 2-3 minutes to further soften the adhesive.
- Gently Peel Off the Press-On Nails: Once the adhesive has softened, carefully and slowly peel off the press-on nails. Avoid using excessive force, as this can damage your natural nails.
- Clean and Condition Your Nails: After removing the press-on nails, use a nail file to gently buff away any remaining adhesive residue. Then, apply a nourishing cuticle oil or hand cream to moisturize your nails and cuticles.
Daring Lily's Press-On Nails: The Ideal Solution
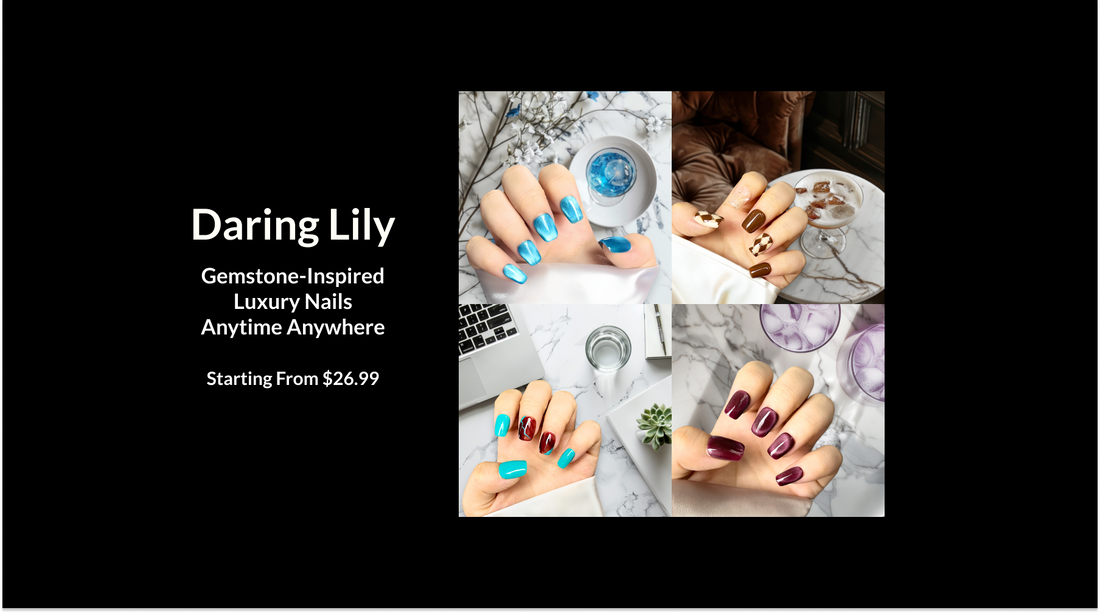
Daring Lily's press-on nails are designed with innovative adhesive technology that makes them exceptionally easy to apply and remove. Unlike traditional press-on nails, Daring Lily's unique adhesive allows for a quick and hassle-free application, taking only 5-10 minutes. Furthermore, their nails are reusable and durable, so you can enjoy a salon-quality look without the need for constant reapplication.
Whether you're looking to try the stunning Radiant Gems Collection, the elegant Artisan Marble Collection, or any of Daring Lily's other breathtaking collections, you can rest assured that removing the adhesive will be a breeze. Their press-on nails are handcrafted with meticulous attention to detail, ensuring a salon-quality appearance that lasts.
Tips and Best Practices
To ensure a seamless press-on nail removal experience, here are some additional tips and best practices to keep in mind:
- Avoid using acetone-based nail polish removers, as they can be harsh on your natural nails and skin.
- If you encounter stubborn adhesive, try soaking your nails for a few additional minutes to further soften the bond.
- Be patient and take your time during the removal process; rushing can lead to damage or discomfort.
- Regularly apply a nourishing cuticle oil or hand cream to keep your nails and skin healthy and hydrated.
- Consider trying Daring Lily's Classic Chic Collection, Floral Artistry Collection, or Metallic Glamour Collection for a variety of sophisticated and on-trend designs.
Conclusion
Removing press-on nails adhesive doesn't have to be a daunting task. By following the steps outlined in this blog post and incorporating the unique features of Daring Lily's press-on nails, you can achieve a seamless and damage-free removal process. Daring Lily's innovative adhesive technology, coupled with their handcrafted, gemstone-inspired designs, offer a salon-quality solution that is both easy to use and long-lasting. Embrace the convenience and luxury of Daring Lily's press-on nails and enjoy a flawless, polished look with ease.
