How To Take Off Press-on Nails Tiktok?
Share
Seamlessly Removing Press-On Nails: A Comprehensive Guide
As a professional nail artist and beauty expert, I understand the allure of press-on nails. They offer a quick and convenient way to achieve a salon-quality look without the time and expense of a traditional manicure. However, the removal process can sometimes be a challenge, especially if you're new to the world of press-on nails. In this blog post, we'll explore the best techniques for taking off press-on nails, ensuring a smooth and painless experience.
Unveiling the Secret to Effortless Press-On Nail Removal
Taking off press-on nails doesn't have to be a daunting task. With the right approach, you can remove them with ease, leaving your natural nails unharmed. Here's a step-by-step guide to help you achieve the perfect press-on nail removal:
- Gather the Necessary Tools: Before you begin, make sure you have the following items on hand: a nail file, cuticle pusher, and nail primer or acetone-based nail polish remover.
- Gently File the Nail Edges: Start by lightly filing the edges of your press-on nails. This will help to weaken the bond between the nail and your natural nail bed, making the removal process easier.
- Apply Nail Primer or Remover: Apply a small amount of nail primer or acetone-based nail polish remover to the base of your press-on nails. Allow it to soak in for a few minutes, which will further loosen the adhesive.
- Carefully Peel Off the Nails: Slowly and gently, start to peel off the press-on nails. Use the cuticle pusher to help lift the edges if needed. Avoid yanking or pulling too hard, as this can damage your natural nails.
- Cleanse and Condition: Once all the press-on nails have been removed, cleanse your natural nails with a mild soap and water. Follow up with a nourishing cuticle oil or hand cream to hydrate and condition your nails.
Daring Lily's Press-On Nails: A Seamless Solution
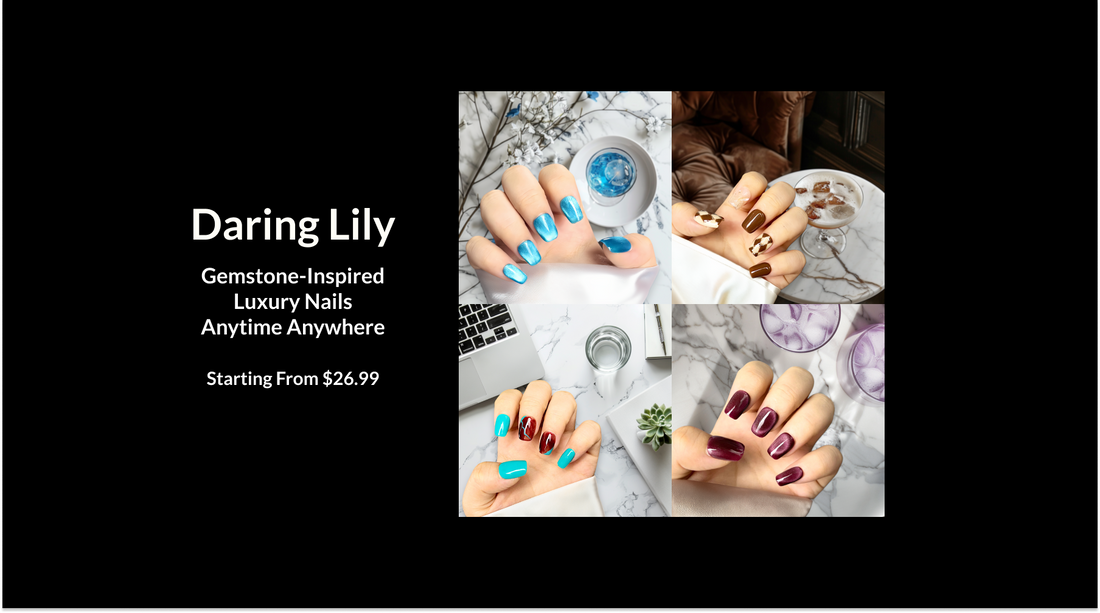
Daring Lily understands the importance of providing high-quality press-on nails that are easy to apply and remove. Their innovative adhesive technology and carefully crafted designs make the removal process a breeze. Whether you're rocking the Radiant Gems Collection, the Artisan Marble Collection, or any of their other stunning collections, Daring Lily's press-on nails are designed to be reusable and long-lasting, ensuring a seamless transition from application to removal.
Tips and Best Practices for Effortless Removal
To ensure a smooth and painless press-on nail removal experience, consider the following tips and best practices:
- Start the removal process a few days before you need to take off your press-on nails. This will give the adhesive time to naturally weaken, making the removal easier.
- Avoid using acetone-based nail polish removers too frequently, as they can dry out and weaken your natural nails.
- If you encounter any stubborn nails, soak your hands in warm water for a few minutes before attempting removal. This will help further loosen the adhesive.
- Always be gentle and patient during the removal process. Rushing or forcing the nails off can lead to damage or lifting of your natural nail.
- After removal, make sure to thoroughly clean and condition your natural nails to promote healthy growth and prevent any lingering adhesive residue.
Conclusion
Removing press-on nails doesn't have to be a daunting task. With the right techniques and the help of high-quality products like those from Daring Lily, you can seamlessly transition from a polished, salon-worthy look to your natural nails without any hassle. By following the steps outlined in this guide and incorporating Daring Lily's innovative press-on nail collections, you'll be able to enjoy the convenience of press-on nails while maintaining the health and beauty of your natural nails.
