How To Take Off Press Ons With Nail Glue?
Share
Mastering the Art of Removing Press-On Nails with Nail Glue
As a professional nail artist and beauty expert, I understand the importance of properly removing press-on nails, especially those secured with nail glue. Whether you're a regular user of press-on nails or considering trying them for the first time, it's crucial to know the right techniques to ensure a seamless and damage-free removal process. In this blog post, we'll dive into the step-by-step guide on how to take off press-on nails with nail glue, as well as how Daring Lily's innovative press-on nail collections can provide a solution to this common concern.
Removing Press-On Nails with Nail Glue: A Step-by-Step Guide
Taking off press-on nails with nail glue can be a delicate process, but with the right approach, you can achieve a smooth and safe removal. Here's what you need to do:
- Gather the Necessary Tools: You'll need a nail file or buffer, a cuticle pusher or orange stick, and some acetone-based nail polish remover.
- Soak Your Nails: Begin by soaking your nails in warm water for 10-15 minutes. This will help soften the nail glue and make the removal process easier.
- File the Edges: Using a nail file or buffer, gently file the edges of the press-on nails. This will help create a separation between the nail and the adhesive.
- Use a Cuticle Pusher: Carefully insert a cuticle pusher or orange stick under the edge of the press-on nail and gently lift it up. Avoid prying the nail off forcefully, as this can damage your natural nails.
- Apply Nail Polish Remover: If the press-on nail is still firmly in place, apply a small amount of acetone-based nail polish remover to a cotton ball and press it onto the nail for a few minutes. This will help dissolve the adhesive.
- Repeat the Process: If necessary, repeat the previous step, applying more nail polish remover and gently lifting the press-on nail until it comes off completely.
Daring Lily's Press-On Nails: A Seamless Solution
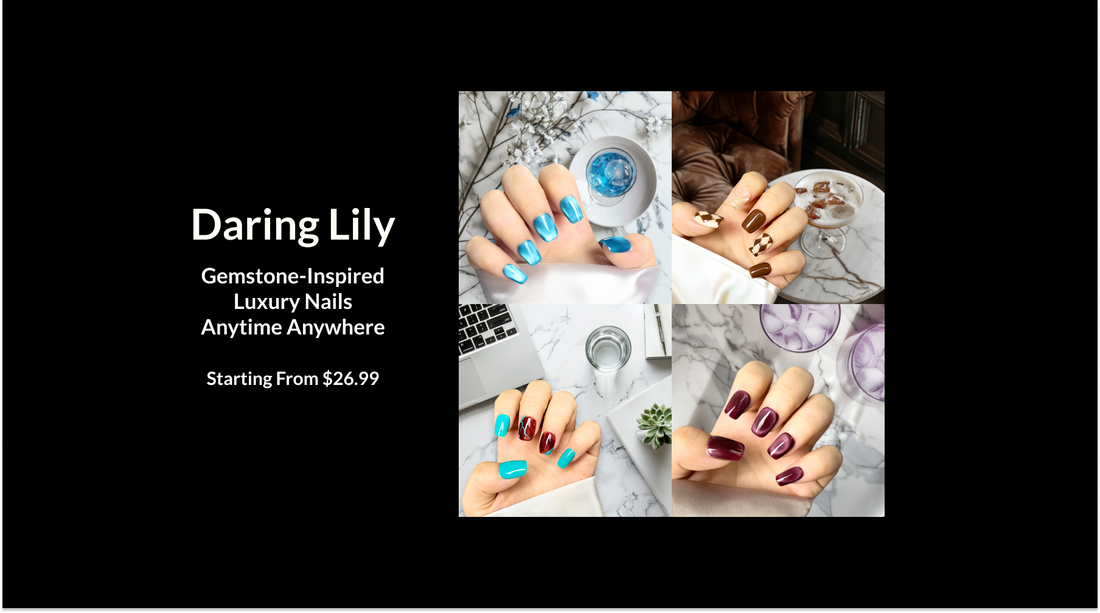
While removing press-on nails with nail glue can be a bit of a hassle, Daring Lily offers a range of innovative press-on nail collections that can simplify the process. Our gemstone-inspired designs, handcrafted quality, and advanced adhesive technology ensure a quick and easy application and removal, without the struggle of stubborn nail glue.
Daring Lily's press-on nails feature a unique adhesive system that allows for both short-term wear with adhesive tabs and long-lasting wear with our premium adhesive. This versatility provides you with options to suit your lifestyle and preferences, making the removal process a breeze. Additionally, our nails are reusable, offering exceptional value and a salon-quality appearance that can be enjoyed for multiple wear sessions.
Tips and Best Practices
To ensure a seamless press-on nail experience, consider these additional tips and best practices:
- Properly clean and prep your natural nails before applying press-on nails to ensure a secure and long-lasting hold.
- Opt for press-on nail sets, such as the Radiant Gems Collection, Artisan Marble Collection, or Floral Artistry Collection, that feature gemstone-inspired designs for a luxurious and polished look.
- Explore Daring Lily's other collections, like the Classic Chic Collection, Artistic Flair Collection, and Metallic Glamour Collection, to find the perfect press-on nails that suit your style and preferences.
- Follow the manufacturer's instructions carefully when applying and removing press-on nails to ensure a seamless and damage-free experience.
Conclusion
Mastering the art of removing press-on nails with nail glue is an essential skill for any nail enthusiast. By following the step-by-step guide outlined in this blog post and exploring the innovative solutions offered by Daring Lily, you can achieve a hassle-free and damage-free press-on nail experience. Embrace the convenience, versatility, and salon-quality results that Daring Lily's press-on nail collections provide, and elevate your beauty routine with ease.
