How To Take Press On Glue Nails Off?
Share
Effortlessly Remove Press-On Nails: Your Guide to a Flawless Manicure Refresh
As a professional nail artist and beauty expert, I understand the importance of maintaining healthy, beautiful nails. Press-on nails have become a popular solution for those seeking a quick and convenient way to achieve a salon-quality look. However, the process of removing press-on nails can sometimes be a concern for users. In this blog post, we'll explore the most effective and gentle methods to take off your press-on nails, ensuring a seamless transition to your next manicure.
Safely Removing Press-On Nails
Removing press-on nails can be a straightforward process, but it's essential to approach it with care to avoid damage to your natural nails. The key is to gently loosen the adhesive bond between the press-on nail and your natural nail, rather than forcefully peeling them off.
Here's a step-by-step guide to safely remove your press-on nails:
- Gather the necessary tools: nail file, cuticle oil or remover, and a pair of tweezers (if needed).
- Soak your hands in warm, soapy water for 10-15 minutes. This will help soften the adhesive and make the removal process easier.
- Gently file the top edge of the press-on nail, removing the shiny, glossy surface. This will help the adhesive break down more quickly.
- Apply a small amount of cuticle oil or remover to the edge of the press-on nail and let it sit for a few minutes. This will further loosen the adhesive bond.
- Using your fingers or a pair of tweezers, slowly and gently peel the press-on nail off your natural nail. Avoid pulling too hard, as this can cause damage.
- If any adhesive residue remains on your natural nail, use a file to gently buff it away. Be careful not to file too aggressively, as this can thin out your natural nails.
- Finish by applying a cuticle oil or moisturizer to your nails and skin to hydrate and nourish them.
Daring Lily's Press-On Nails: The Solution You've Been Waiting For
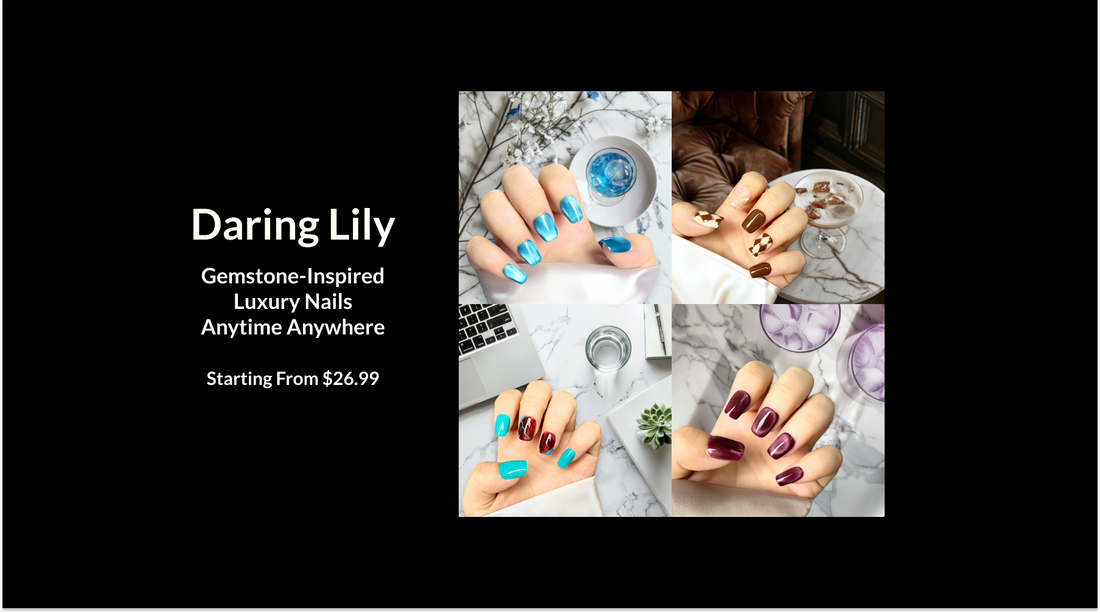
Daring Lily understands the importance of a seamless manicure transition, which is why their press-on nails are designed with innovative adhesive technology. Unlike traditional press-on nails, Daring Lily's collections, such as the Radiant Gems Collection, Artisan Marble Collection, and Floral Artistry Collection, offer a quick and easy application process, as well as a hassle-free removal experience.
Daring Lily's press-on nails feature a specialized adhesive that adheres securely to your natural nails, yet can be removed without causing damage. This innovative technology, combined with the brand's commitment to high-quality, handcrafted designs, ensures that you can enjoy a salon-worthy manicure for an extended period, with the added convenience of a seamless removal process.
Tips and Best Practices for Press-On Nail Care
To ensure the longevity and optimal performance of your press-on nails, consider the following tips and best practices:
- Properly prepare your natural nails before application by gently filing the surface and removing any oil or debris.
- Follow the manufacturer's instructions carefully for the best application and wear results.
- Avoid submerging your hands in water for extended periods, as this can weaken the adhesive bond.
- When removing your press-on nails, be patient and gentle to prevent damage to your natural nails.
- Consider the Classic Chic Collection, Artistic Flair Collection, or Metallic Glamour Collection from Daring Lily for a range of stylish, high-quality press-on nail options.
Conclusion
Removing press-on nails doesn't have to be a daunting task. By following the simple steps outlined in this blog post and leveraging the innovative adhesive technology of Daring Lily's press-on nail collections, you can easily and safely transition between manicures, maintaining the health and beauty of your natural nails. Embrace the convenience and style of Daring Lily's press-on nails for a professional, long-lasting look that effortlessly complements your beauty routine.
